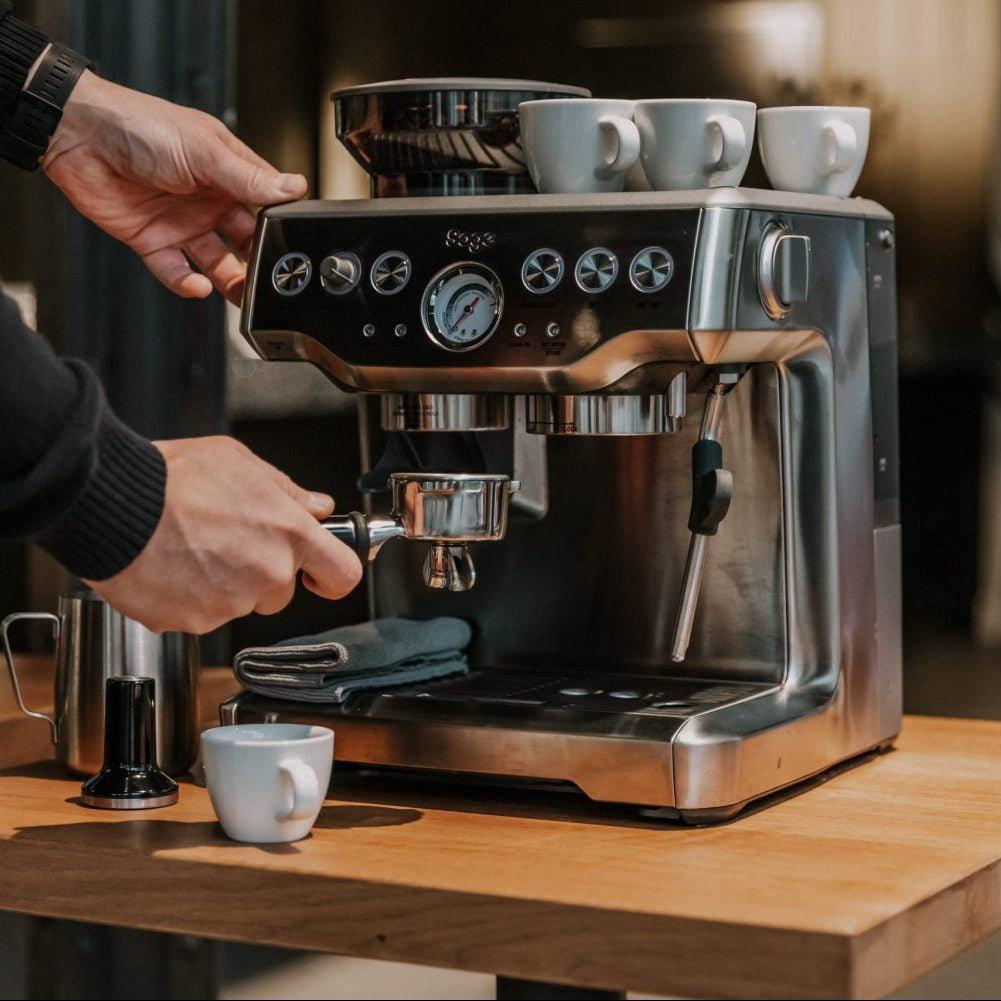
As an espresso enthusiast, I've learned that crafting the perfect shot demands precision at every step. Whether it’s the grind size, extraction pressure, or even water quality, each factor can make or break the outcome. One crucial but often overlooked aspect is the brew temperature. When I first started using the Breville (known as Sage in the UK) Barista Express, I was thrilled with its versatility. But it wasn’t until I began experimenting with brew temperature adjustments that I unlocked the machine's full potential in creating consistently amazing espresso. Uncover the premium brewing capabilities in our Breville Dual Boiler BES920XL review
In this guide, I’ll explain how to change the brew temperature on your Breville/Sage Barista Express, and how it can elevate your espresso game. Whether you're trying to highlight the nuances of a light roast or account for environmental factors like altitude, mastering this setting will significantly enhance your espresso experience. Uncover the premium brewing capabilities in our Breville Dual Boiler BES920XL review

Why Brew Temperature Matters
Before we dive into the step-by-step instructions, let’s explore why brew temperature is a critical factor in espresso making. Compare these two top models in our Breville Barista Express Impress vs Pro review
The brew temperature directly influences flavor extraction. A temperature that’s too high will result in over-extraction, producing bitter or burnt flavors. On the other hand, brewing at too low a temperature can lead to under-extraction, leaving your espresso tasting sour or weak. Generally, the optimal brewing range for espresso is between 195°F and 205°F (90°C to 96°C), but depending on the beans and roast, you may need to make slight adjustments within this range. Find the right machine for you in our Breville Barista Pro vs Express review
From my experience, lighter roasts benefit from a higher brew temperature, as this helps extract their delicate and complex flavors. Conversely, darker roasts often require lower temperatures to avoid bitterness and bring out their rich, smooth characteristics. Learn the differences between these high-end machines in our Breville Oracle vs Oracle Touch review
Fortunately, the Breville/Sage Barista Express offers an easy way to adjust the temperature to suit your preferences.
Understanding Your Breville/Sage Barista Express
The Breville/Sage Barista Express is a semi-automatic espresso machine that provides a fantastic balance of customization and ease of use. It’s equipped with a built-in PID (Proportional-Integral-Derivative) controller, which ensures consistent temperature stability throughout the brewing process. What some users don’t know is that the machine allows you to tweak the brew temperature through its hidden settings—no extra tools needed.
Let’s walk through how to make these adjustments.
Step-by-Step Guide to Adjusting the Brew Temperature
Power Off the MachineBefore you begin, ensure the machine is powered off. This is essential, as adjustments can't be made while the machine is active or heating. Simply press the power button to shut it down.
Enter Programming ModeTo adjust the temperature, you’ll need to access the programming mode. Press and hold the 'Program' button while simultaneously pressing the 'Power' button. Keep holding the 'Program' button until the lights on the front panel begin to flash. This indicates that the machine is now in temperature adjustment mode.
- Select the TemperatureOnce in programming mode, use the following buttons to change the brew temperature:
- Single Shot Button: Decreases the temperature by 2°F (1°C).
- Double Shot Button: Increases the temperature by 2°F (1°C).
- Filter Size Button: Resets the temperature to the default setting of 200°F (93°C).
- The LED lights above the buttons will give you a visual cue:
- Both the '1 Cup' and '2 Cup' lights illuminated mean the temperature is set to 200°F (93°C).
- Only the '1 Cup' light indicates a temperature of 198°F (92°C).
- Only the '2 Cup' light indicates a temperature of 202°F (94°C).
- Adjust to Your Preferred TemperatureBased on your taste preferences and the beans you're using, press the 'Single Shot' or 'Double Shot' buttons to lower or raise the temperature, respectively. Each press changes the brew temperature by 2°F (1°C).
For instance, when using lighter roasts, I often increase the temperature by 2°F (1°C) to bring out their bright, fruity flavors. For darker roasts, I tend to reduce the temperature by 2°F (1°C) to avoid overpowering bitterness and emphasize their smoother, richer body. - Save the SettingsAfter setting your desired temperature, press the 'Program' button again to save the changes. The machine will power off briefly and then restart, applying the new temperature setting.
- Test and RefineOnce the adjustments are saved, pull a shot and taste the results. If the flavor still isn’t quite right, you can repeat the process and tweak the temperature further. I usually need to fine-tune over a few shots, but once you find the sweet spot, the difference in flavor will be noticeable.

Troubleshooting and Tips
- Temperature Changes Not Applying: Make sure you're in programming mode (flashing lights). If the lights aren’t flashing, temperature adjustments won’t register.
- Off-Tasting Espresso: If the flavor remains off after temperature adjustments, consider refining other elements like grind size, tamping pressure, or water quality. Temperature is just one factor in creating the perfect shot.
- Frequent Adjustments: Depending on your beans, you may need to tweak the temperature regularly. Lighter roasts usually benefit from higher settings, while darker roasts perform best at lower temperatures.
Conclusion
Learning how to adjust the brew temperature on your Breville/Sage Barista Express can have a significant impact on your espresso experience. This simple adjustment allows you to tailor the machine’s performance to suit different coffee beans and roasts, enhancing the complexity and richness of your shots.
Since I started experimenting with the brew temperature, I’ve noticed a marked improvement in the depth and clarity of flavors in my espresso. If you’ve been sticking to the default settings, I highly recommend trying this feature—you’ll be surprised by how much it can transform your brew!
